Installing RancherOS 1.5.2 on VirtualBox. Part 0. Setting up VM.

In this tutorial, I will show how to install RancherOS 1.5.2 on Oracle VirtualBox.
So here is a list of requirements to get started:
- Oracle VirtualBox: Download or install through Ubuntu Software.
- RancherOS ISO image: Download, select rancheros-vmware.iso file from latest version.
In this tutorial, I will be using Ubuntu 18.04 with VirtualBox v. 5.2.18.
Setting up VirtualBox
So, first of all, we need to create a new VM inside VirtualBox:
- Click on New (Ctrl+N) or Machine->New
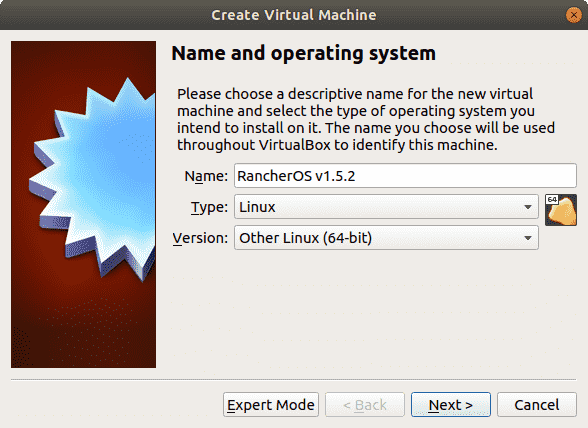
- As the name choose an appropriate name (like RancherOS v.X.Y.Z)
- Type – Linux
- Version – Other Linux (32 or 64 bit depending on your system)
You should probably get something similar to this:
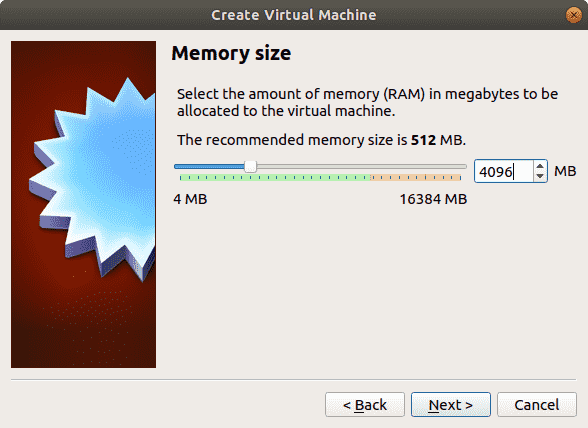
Click Next, now you should see RAM selection for VM. I’d recommend using 2048MB if you have 8GB of RAM and 4096MB if you got 16GB or more.
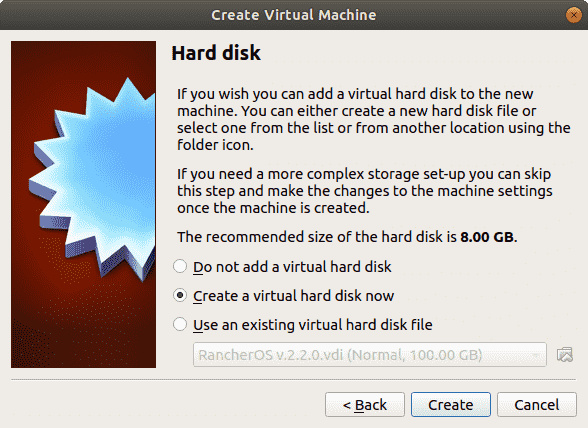
The next step is to create a virtual hard drive for VM. Choose “Create a virtual hard disk now” and click “Create”.
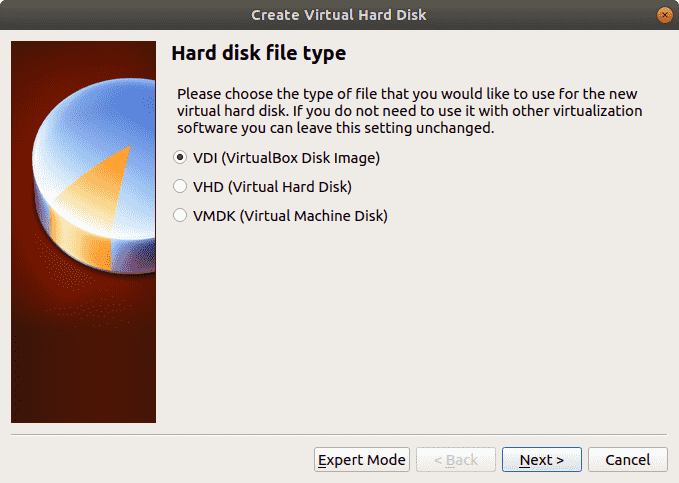
Then select VDI as Hard disk file type, click “Next”.
On this step I’d highly encourage to use dynamically allocated, as it will be easier to expand in the future than fixed size disk.
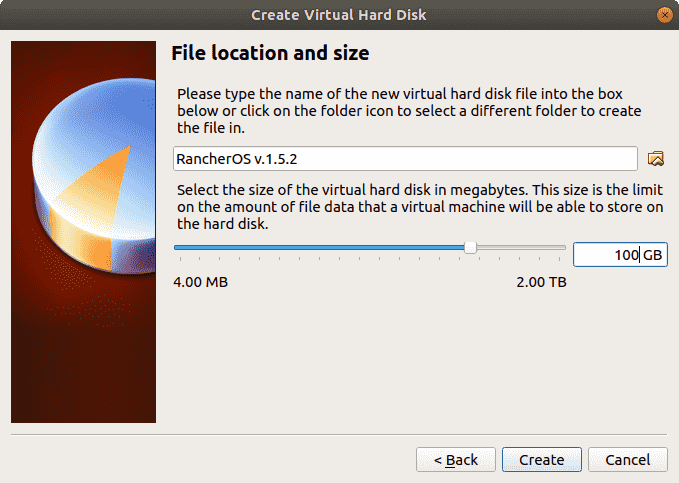
Click next and select disk capacity: if you selected dynamically allocated disk you can choose whatever size you want, as it won’t be allocated immediately and will grow as needed. I recommend using something like 50 to 100 GB or more as it will be easier to expand in the future if you will need this VM for more stuff. Click “Create” and you should now see your newly created VM in the list.
Some useful VM tweaks
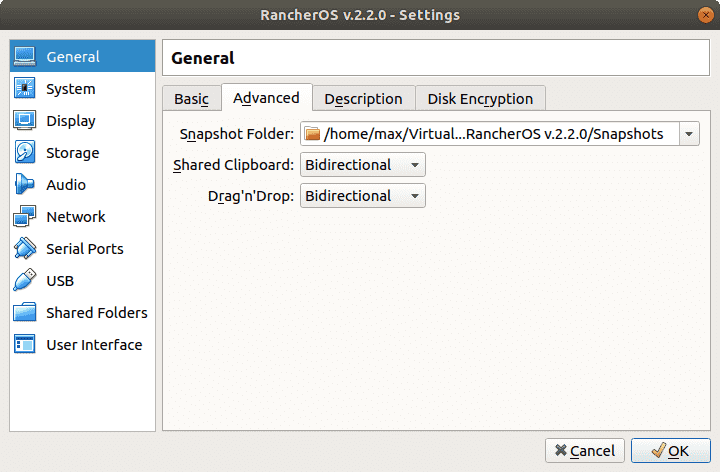
- Shared clipboard and Drag’n’Drop. It will be essential to copy ssh key later: right-click on your new VM, then choose Settings->General->Advanced. Make Shared Clipboard and DND bidirectional.
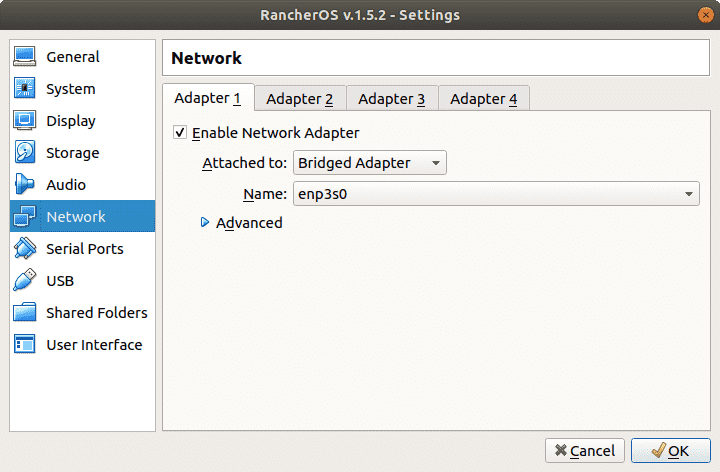
- Bridge network. Essential to connect to your VM in the future through SSH. Select Network Tab and change the “Attached to” to Bridged Adapter, it should select your default internet link as the name. Your VM will be visible from your PC and your local network as well.
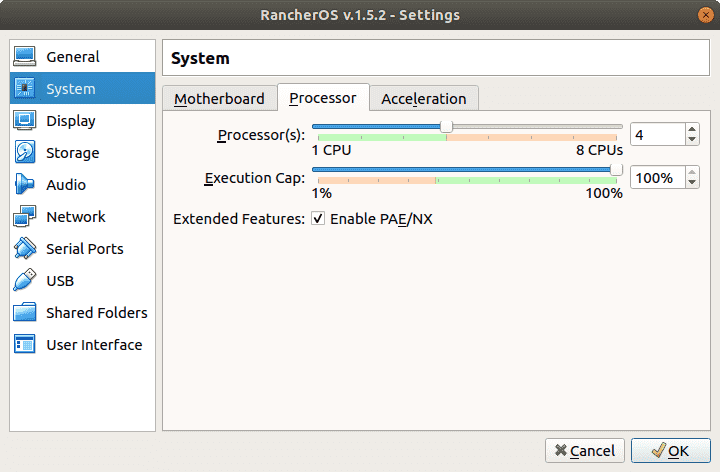
- Increase maximum allowed CPUs for VM (optional). I recommend doing this, as it will improve VM installation speed. Go to System->Processor and tweak Processor(s) slider
