Installing RancherOS 1.5.2 on VirtualBox. Part 1. Installing.

This is the continuation of Part 0 where we set up VM.
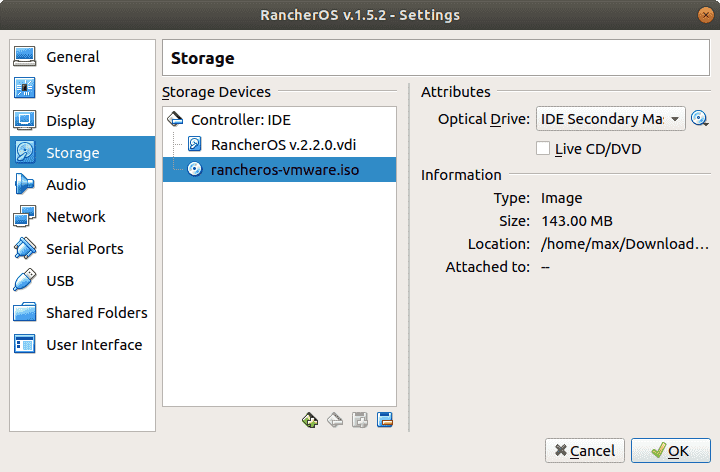
Now we are ready to install our RancherOS. Go to Storage Tab inside VM settings and attach RancherOS ISO image to Empty Storage device: select it, then click on disk icon with downward arrow inside Attributes tab. Click on “Choose Virtual Optical Disk File”, it should open your default explorer to select downloaded ISO image. After all, you should the picture like this:
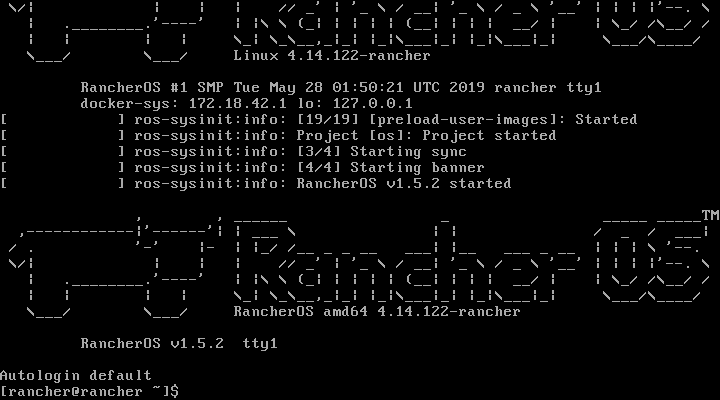
Then close the settings menu and start VM. It should load after some time and you should see shell:
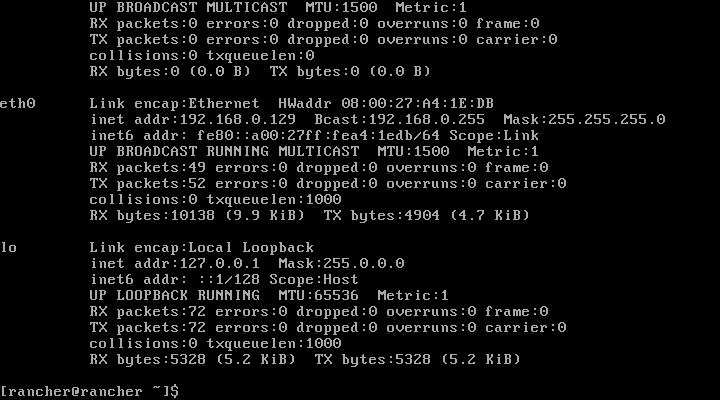
Then write ifconfig in console, and grab VM ip address in eth0 inet addr field. In my case, it is 192.168.0.129

Then run sudo su - to login as root and then passwd rancher to change the default rancher user password. Enter the password for the rancher and then create cloud-config.yml file on your host OS.
The one essential field it should contain is ssh_authorized_keys as it will be required to SSH into it after installation. Here is an example cloud-config.yml file:
ssh_authorized_keys:
 ssh-rsa AAAAB3NzaC1yc2EAAAADAQABAAABAQCbJQH2A34Ti0GE5WYyJESWbx1BL6WDOOgZClhoV16qoIWHlaQAyvk1sE+Y1k3G2uk6c3z04LAIGlvAw9A+a8pWAgSVLS5qtDcshruSvBWBQCa7l4qk4PSOhTv2ndO3FyZwrOG+ywKQcyawgyemHSSRTn2nDQwgamExak9k8gH/K/Q1vrwMWbMh5+qwc8CaizJ2dAVvW0szD6hKYWywKE3cu8+dlo8Kd+tpIW1geNrHV9GYh6XRf51qSt2evl+XL0qebTIfhS/RGmco41IRWWR8GTIHukCAUwT9qWAzZ38YH3Tze1mLwmVWZj12hcG0OdaFdIZaEZXR5/cqff1tAvJ5 max@max-PC</pre>
So instead of AAAA… you should place your public key, which can be created using ssh-keygen which creates 2 files: private and public key, you should copy and paste your public key(.pub file). Also if you have already created ssh keys, it could be inside your home directory’s .ssh folder named id_rsa.pub.
Copy config to VM
To copy config you will need SFTP client. Using default Ubuntu console sftp client you could log in using: sftp rancher@vm-ip and entering your rancher user password created previously. Then just enter put cloud-config.yml and it should be copied to the VM
Now switch to your VM console. Exit from root account if you haven’t. Then write this command to install RancherOS: sudo ros install -c cloud-config.yml -d /dev/sda
- -c cloud-config.yml is your created cloud-config file with ssh key.
- -d is used hard drive partition. In case of VM its /dev/sda.
Then type y in all boxes to proceed installation. It should reboot the VM afterward.
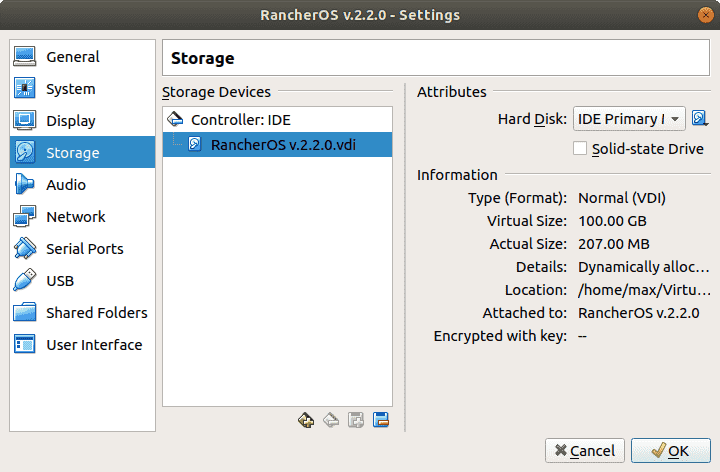
Poweroff the machine using File->Close or just close the VM window. Now go to settings and eject ISO file from Storage devices by clicking disk with a minus down from the storage devices list:
Start your VM and after login prompt, you should be able to SSH into VM using its IP and your created SSH key using rancher user.


